This post may contain affiliate links. Read our disclosure here.
This is a guest post by Cheryl who is a stay-at-home mom of a very busy 16-month-old.
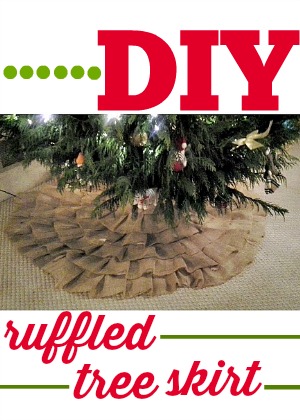
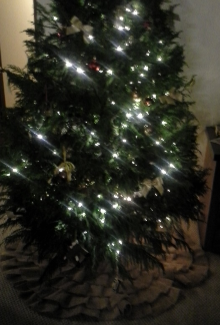
This project is incredibly cheap if you do it the way I did, which involves a lot of cutting and a little bit of sewing. I only spend $7.50 and I like what I made much better than the one I saw in a store recently for $40.
Materials
– Old sheet or table cloth– white or cream works best, but you could go red or green and be a little more festive
– 3 yards of burlap (you cut it into 5” strips, this takes a lot of time, but saves a lot of money since you need approximately 25 yards of ribbon I used this tutorial)
– Scissors
– Sewing Machine
– Thread
– Safety pin
– Marker
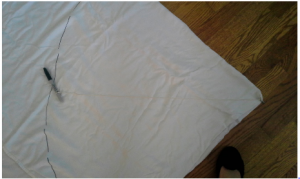
The first step is to make a skirt out of the old sheet.
You’ll sew the burlap on top of this. Cutting a circle can be tricky, thankfully it doesn’t have to be perfect because it will be covered in burlap, but here is an easy way to get it pretty close.
Determine how wide you want your skirt to be. My tree is 55 inches wide so I made my skirt the same. Measure a length of string to be 4 inches longer than half of the diameter. (55/2 = 27.5 + 4 = 31.5) tie a safety pin to one end and marker to the other, the distance between the two ends should be 27.5 inches.Fold the sheet into fourths.
Pin the string to the folded corner. Pull tight on the string (You may want to put a book on top of the corner to keep it in place) put the maker down and draw the arc made by the string on to the fabric.
To do the smaller hole for the middle of the skirt I just traced a small plate.
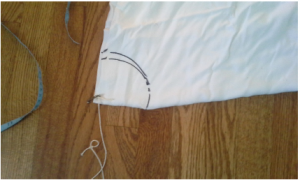
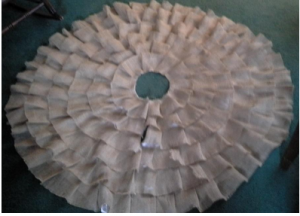
Cut on the lines you’ve drawn and you’ll have your skirt. I forgot to take a picture of the big circle, but once I spread it out I just cut a straight line from the center to outside edge. Then I put it around the tree to make sure it was the right size for the look I wanted. This tree skirt is pretty big, but I like it.

Next, cut the burlap
As I mentioned before I cut the burlap into 5 inch strips using this method. When you make your own burlap ribbon, it can fray, but to me the cost savings make it worth it.
Next I started on one side of the cut and pinned the burlap around the bottom edge of the circle about 3 inches in. I folded the burlap as I pinned it to create the ruffles. You could iron it, but I’m more of a shabby chic girl, so I didn’t.
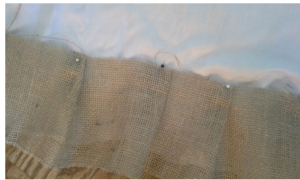
When one strip runs out you just tuck in the next one and keep on pinning. When the whole row is pinned in place, bring it to the sewing machine and do one straight stitch leaving ½ inch seam allowance. (You could hot glue this, which was my original plan, but that would take a million years, plus I’d burn myself, plus I wasn’t sure how the glue would hold up in the attic, and I plan to reuse this baby.)
That’s really all there is to it. Once the first row is sewn in place you pin on the next row. I laid the burlap out so that it the rows overlap by 1 inch. One other tip is that I didn’t line up the folds, I made sure each row the folds were a little off from the row before it. Each rows goes a little faster than the last because the circle gets smaller.
See more DIY Christmas.