This post may contain affiliate links. Read our disclosure here.

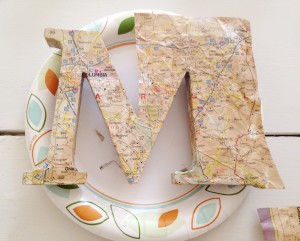
A great DIY gift idea is map letters. These can be made using hometown maps, state maps, public transportation maps, or maps of your friend’s favorite city. I used a South Carolina map for my letter. It can be hung on a wall, or sit on a desk/shelf. Mine now permanently lives on my desk, a sweet gift to me!
Supplies:
Block Letter
Paper Map
Scissors
Mod Podge
Paintbrush
Tea
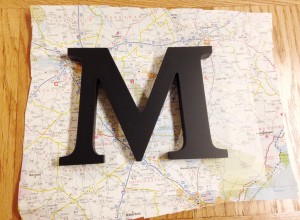
1. First, I laid down the letter on the huge map and cut out a more manageable square with my favorite parts of the map included.
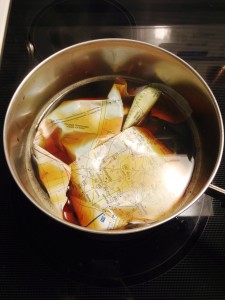
2. I put a tea stain on my map to make something brand new look vintage. Boil a pot of tea, crumple the square of map and leave it in there for about 20 minutes.
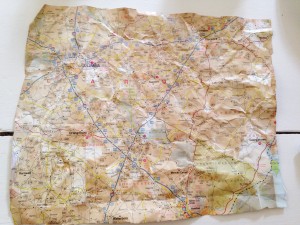
3. Carefully remove the map and lay it out flat to dry overnight.
Usually I use simple cardboard letters from Hobby Lobby to do this, but they were out when I went to grab one. So I picked up a more angular one from Michaels on sale for $1. There were a lot of curves on this letter, so I wanted to make sure I got all of the edges covered with the map.
4. Cut long strips from the edge of the map to put on the insides of the letter.
5. Liberally apply the Mod Podge with a paint brush to adhere the strips. Make sure you clean up any of the drips before they dry.
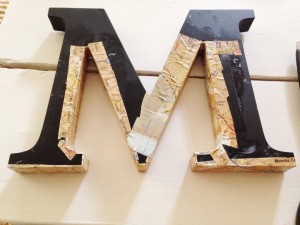
6. After I covered the inside of the letter, I put Mod Podge on the top of the letter and positioned the map so my favorite cities would be facing out. Then, you go around the entire letter folding the map down and attaching it to the letter with the Mod Podge.
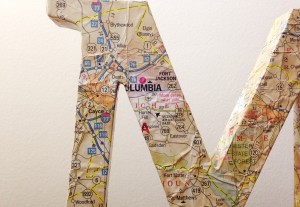
7. Once all of the black or cardboard of the original letter are covered, put one final coat of Mod Podge over the entire letter to seal it. If there are any rips in the map, don’t worry about it, cover it with a small piece of the map and no one will ever know. These letters are perfect to go on a gallery wall. If you’re more patient than me, you’ll flatten out some of the bumps in the map. Personally, I like the character it adds.
Tip: Make sure you wash your hands whenever they get too covered in the glue. When they’re sticky, they tend to pull off parts of the map while you’re handling it.
See more DIY Christmas.