This post may contain affiliate links. Read our disclosure here.
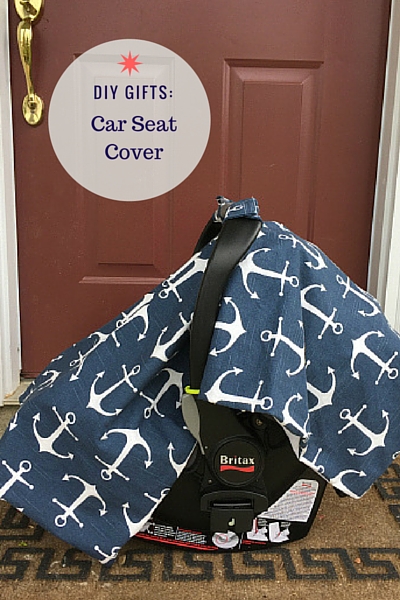
If someone on your shopping list is expecting or has a small baby, a car seat cover is a great gift. They are easy to make and relatively quick. You can get the fabric needed for less than $20 and have a great gift ready in an afternoon.
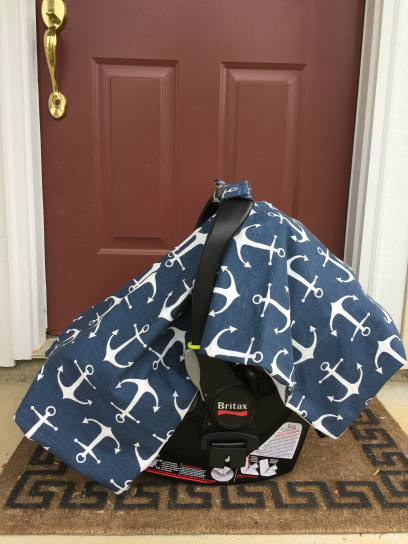
My favorite use for them: shut the cover and you have an instant place for baby to nap while out and about or in the car.
Supplies Needed
1 1/2 yard of fun fabric
1 1/2 yard of coordinating fabric
Velcro
Thread
Sewing Machine
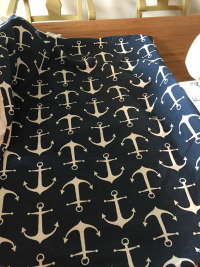
A quick note on fabric selection: I like to use duck cloth (also called canvas cloth) for the exterior side. It has a little more weight to it to help keep the car seat cover down when it’s windy. For the coordinating fabric, no one will see it unless it’s flipped up so I look for the cheapest solid color fabric available.
Car Seat Cover Tutorial
- Gather all supplies needed
- Wash and iron fabric (if you skip this set the cover may be too small after it’s washed)
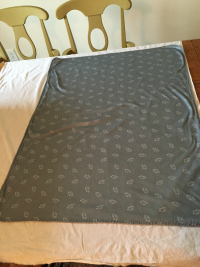
- Cut both pieces of fabric. You want them to be 35″ wide and 40″ long so they fully cover all sides of the car seat.
-if you want to cheap on this step, find a blanket close to those dimensions and trace it
*make sure the fabric is going in the right direction if you are using directional fabric
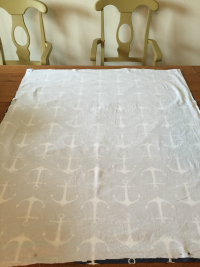
- Lay both pieces of fabric facing each other. You want the printed side in the middle.
- Pin the fabric in place
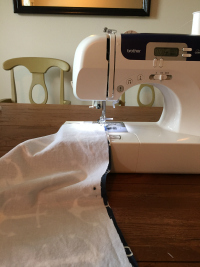
- Sew around the perminator of the fabric, let’s a 4 inch opening
- Turn the cover right side out
- Fold in the edges that are open and sew them closed
To make the handles
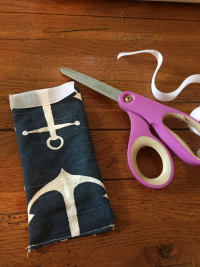
- Cut 4 pieces of fabric that are 3″ wide by 7″ long
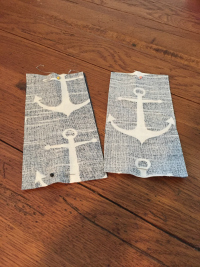
- Place the fabric facing either other with the printed side down.
- Pin the fabric in place
- Sew around the edges leaving a small opening
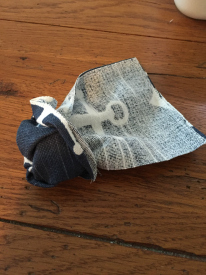
- Turn the fabric right side out
- Fold in the edges of the opening and sew them closed
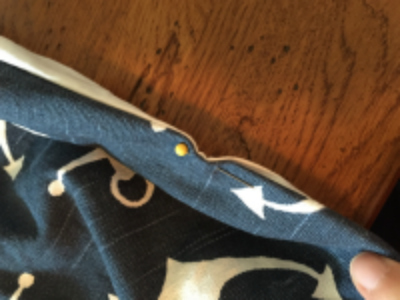
- Cut Velcro the side width as your handles
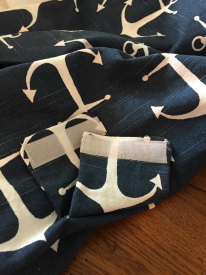
- Place one piece of Velcro on each end. You want one piece on the top of the fabric and one piece on the bottom so they’ll lay flat when placed together.
- Pin Velcro into place and sew together
Putting it all together
- If you have an infant car seat handy, lay the cover on top and mark where to attach the handles
If you do not, attach them about 17 inches from the top (to the middle of the handle where it is sewed on) and 11 inches from the side.
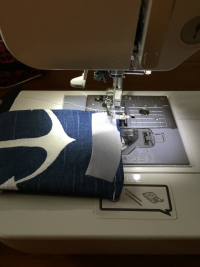
- Sew the handles on the cover. I simply when in a straight line a few times across the center.
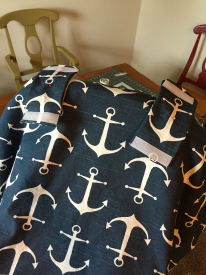
Test it out and you’re finished!
I consider myself a slow sewer and once the fabric was washed and ironed, the project took me around 3 hours.