This post may contain affiliate links. Read our disclosure here.
I am by no means a professional seamstress, but I have a sewing machine and enjoy using it to create simple projects. I’ve made some elastic waistband skirts, some small pillows, and I even recently made a baby blanket.
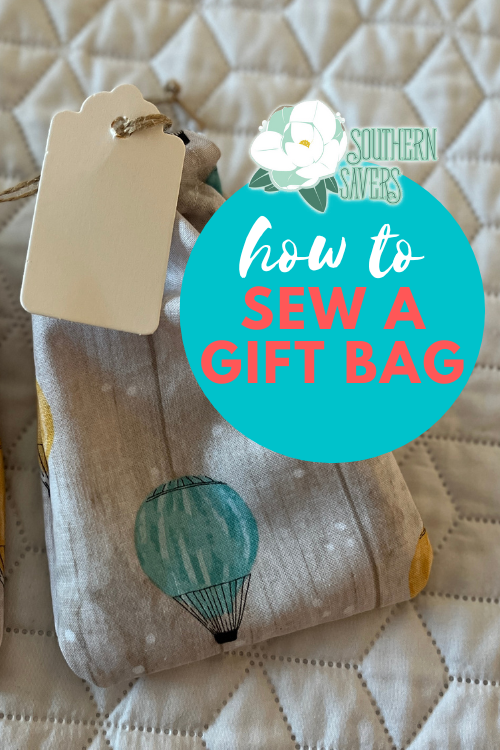
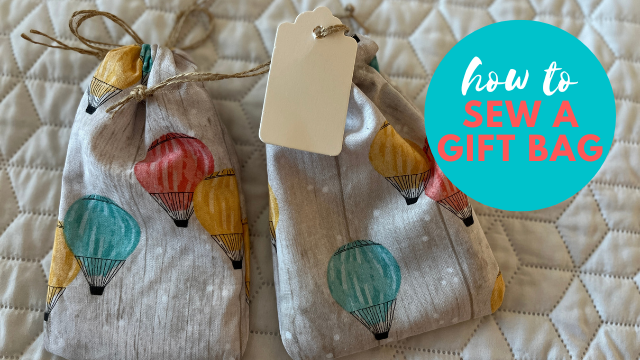
One of my favorite simple projects is to sew a gift bag. These don’t require much fabric and are great for scraps. If you’re giving outside your family, they add a personal, handmade touch to the gift. For within your family, they can be reused! I hope in the coming years to use up all my random Christmas fabric and make gift bags for presents so that we can use them year after year. Today I’m going to show you how to sew a gift bag. If you don’t have a sewing machine, you can hand sew this without a lot of issues. This could also be a no-sew project if you use fusible adhesive hem tape.
How to Sew a Gift Bag
This really will be a simple project, and would be great for teaching a new sewer how to use a machine or even hand sew.
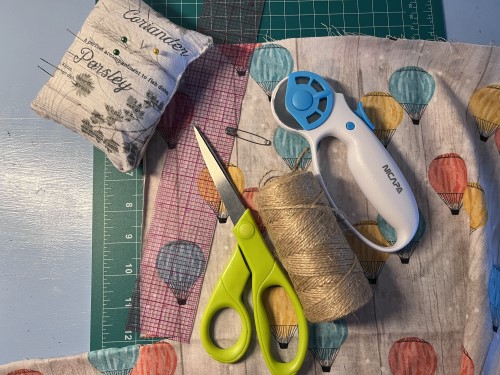
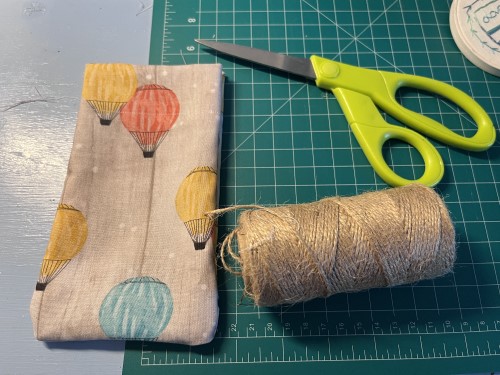
As far as supplies, you’ll need:
Two pieces of fabric, either the same kind of complementary patterns/colors
Scissors
Safety pin
Straight pins or Wonderclips
Ruler
Sewing machine (or needle and thread)
Twine or ribbon
Chalk pencil or heat-erasable pen (optional)
Rotary cutter (optional)
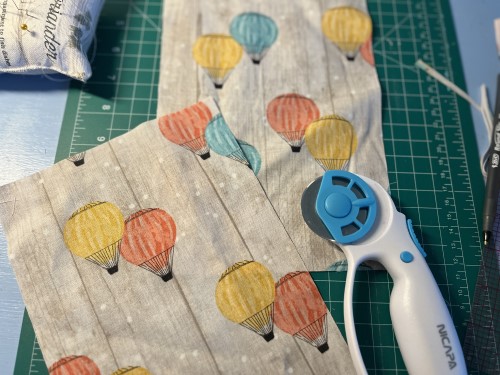
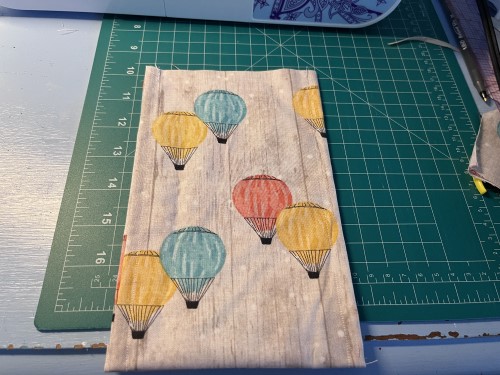
The first step is to cut your fabric. I wanted to fit an object inside this one that was approximately 3 inches by 3 inches. I cut my fabric 6.5″ wide and 9″ tall. This allows space for hemming the sides and making the fold on top for the drawstring.
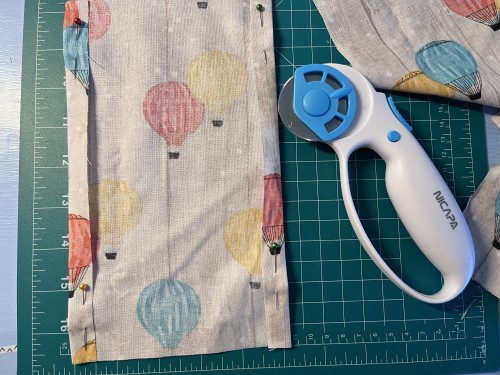
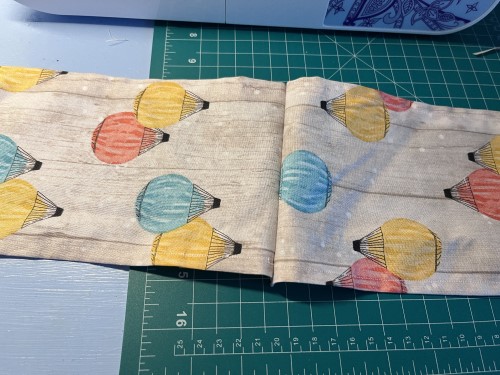
Now you’re going to take both pieces of fabric and fold it a 1/2 inch down on each of the long sides. You can use an iron if you want to, but I just used pins to hold the sides in place.
The reason we are doing this is so that the holes for the drawstring will be hemmed as well. If you don’t care about that, you can skip this step and move on to sewing the bottom of the bag together.
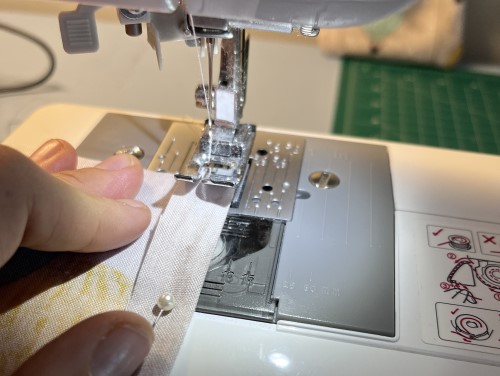
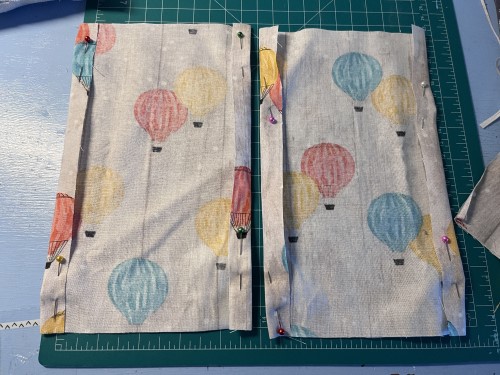
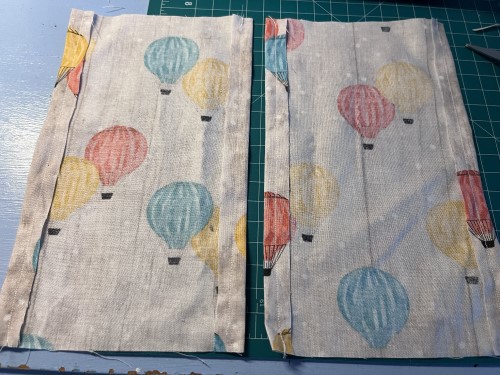
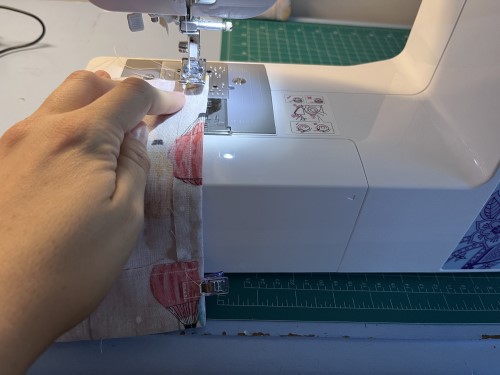
Now take each piece of fabric to your sewing machine and sew a straight stitch with a 1/4 inch seam allowance down both sides.
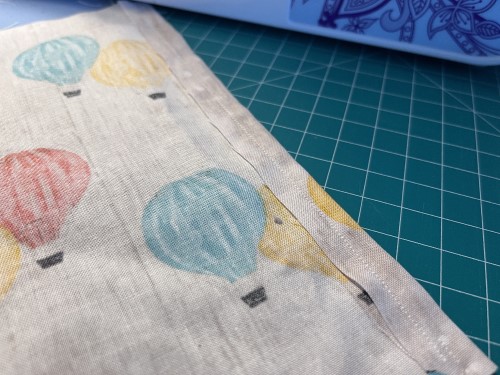
This is what it will look like once it’s hemmed.
 ‘
‘
Do the same thing to the other side, and here are your results!
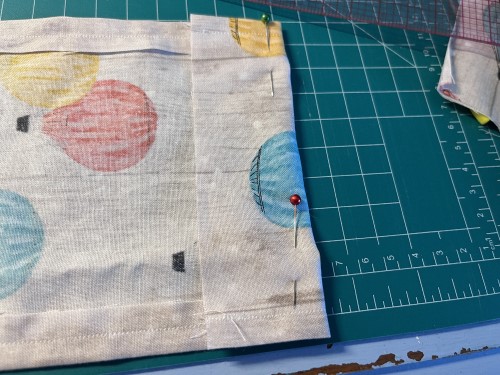
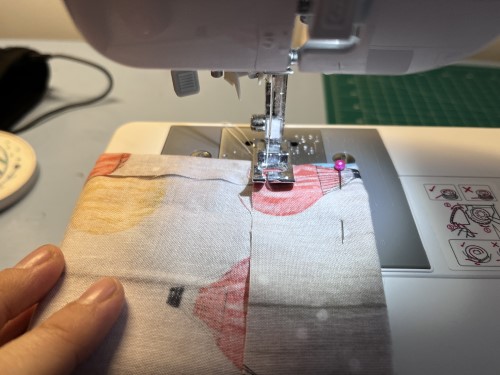
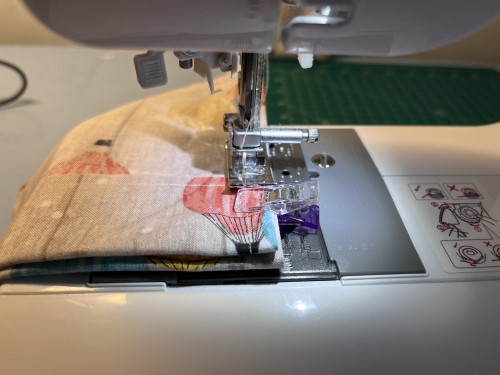
Now place the two sides “right” side together. The right side is the front of the fabric that you want to be facing each other. If your fabric has images on it that are going a certain direction, make sure everything is facing the right way! (Upside down air balloons would be funky, but not what I was going for). Make sure to pin them together so they stay even.
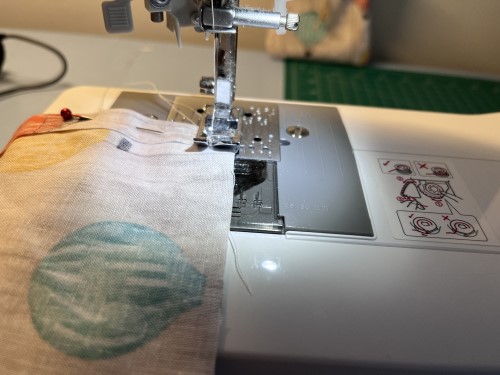
Go back to your sewing machine and do a straight stitch across the bottom with a 1/4 inch seam allowance.
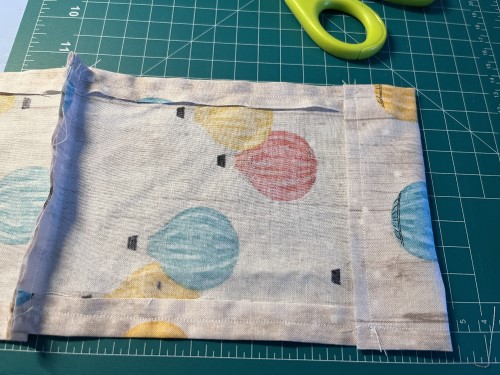
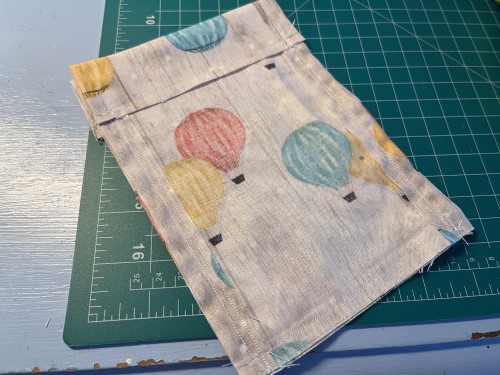
Now your bag should look like this!
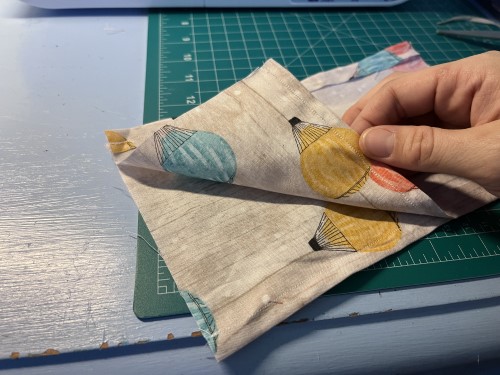
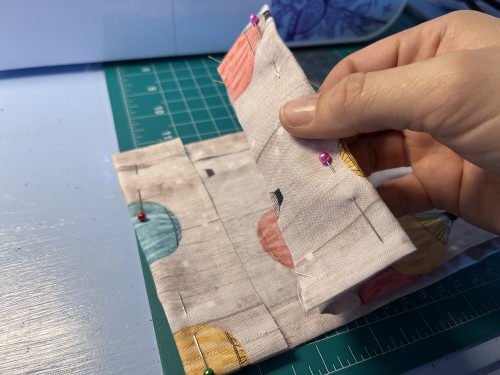
Remove the pins and fold the pieces the other way and you’ll get a glimpse of what your bag will look like.
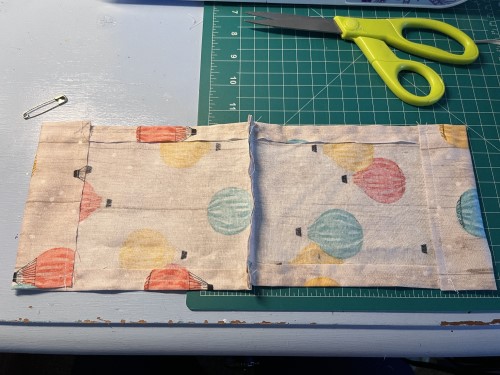
Now flip the bag open so you can see both sides.
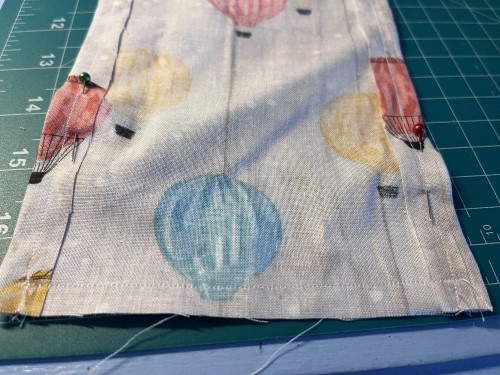
Fold down the top of one side (that hasn’t yet been hemmed) 1.5 inches. Pin it to hold it in place.
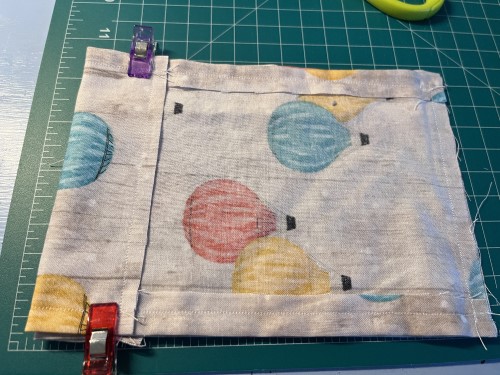
Do the same thing to the other side and make sure the bottom of the folds match up so that the bag will be the same on both sides.
Open the bag back up and sew each fold down with a 1/4 inch seam allowance.
Do the same thing to the other side.
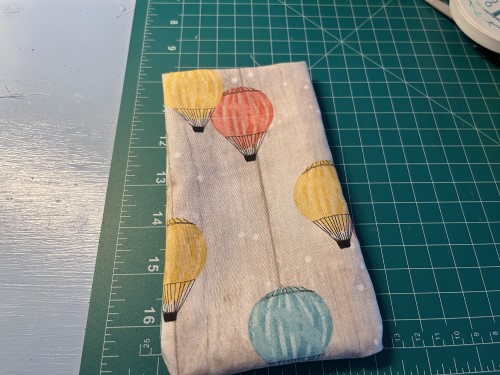
Now your bag should look like this! To complete the bag portion, all we have to do is sew up the sides!

Fold the bag back up with right sides together.
Place pins or clips at the top, right above the edge of the fold that you sewed down. You do NOT want to sew over the folded down fabric at the top, or you won’t be able to put the ribbon or twine in. These clips will show you when to stop sewing.
Sew one side of the bag together with a 3/8 inch seam allowance. If you’ll remember, you did a 1/4 inch seam allowance for hemming the sides of the bag. Now you’ll want to sew them together 3/8 inch inch from the side, so that the 1/4 inch hem will not show.
You can see here where I stopped sewing. I basically sewed to meet the stitching where I folded the top down.
Do the same thing on the other side!
Now flip it right side out.
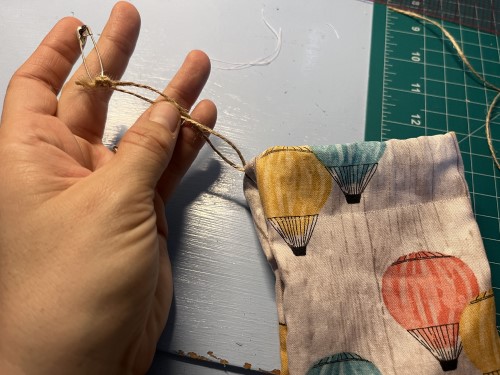
The next step is to cut your ribbon or twine for the drawstring. I used two 18″ pieces of twine. You can also use ribbon!
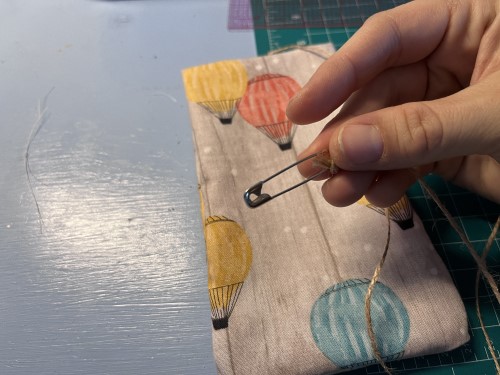
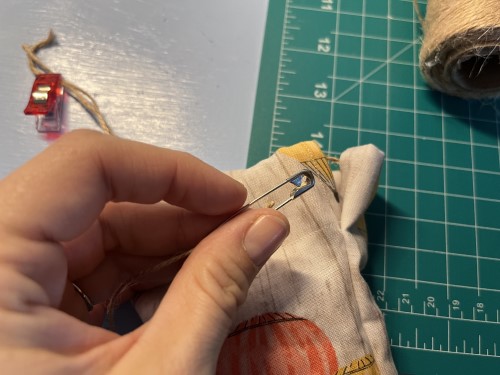
Use a safety pin to help you feed the twine through the bag. If a ribbon is wide enough, you can just poke the safety pin through, but I just tied the twine to the end and snipped off the end once the safety pin was through.
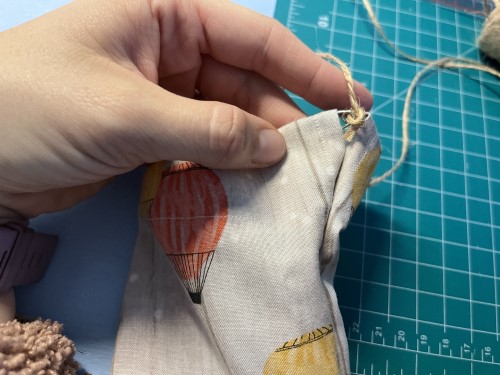
You’ll go in the hole on one side first and come out the other side.
Now you’ll go into the hole right next to it on the same side and go back out the other side, so the ends of the first piece of twine are on the same side

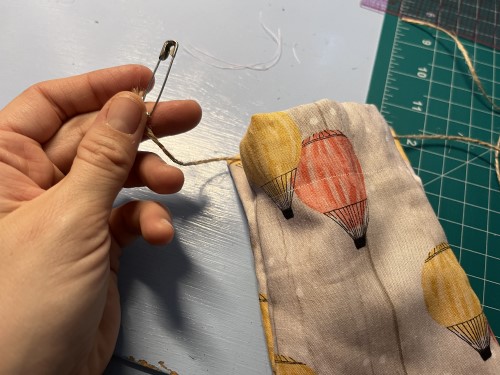
Before you do the same thing on the other side, clip the ends of the first piece together so that this piece doesn’t get pulled back through as you’re threading the other side.
You’ll do the same thing with the second piece, but start it on the opposite side as you started last time, Again, once you get through to the other side, go back through the hole next to it so both ends are on the same side.
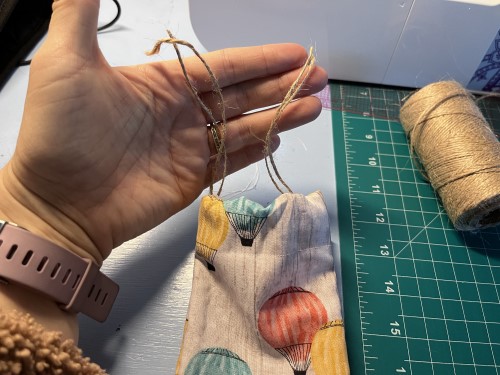
Now you should have two ends on each side. You can test your bag by trying to pull it closed!

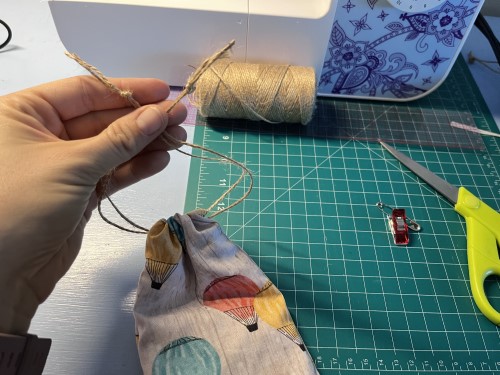
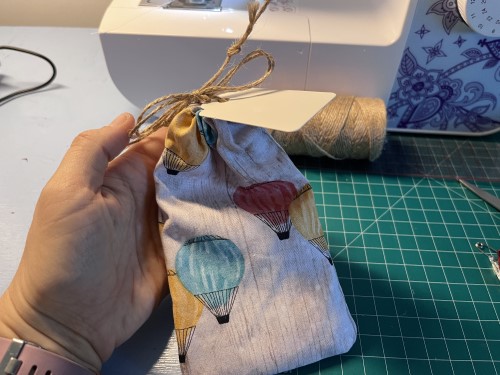
Mine worked, so once I tested it, I made sure the twine on both sides were the same length, tied knots at the ends and then trimmed any excess twine.
That’s it! You can fit your gift inside, then just tie a simple bow on top to keep it closed. Or, you can opt not to tie it as the bag should still stay closed.
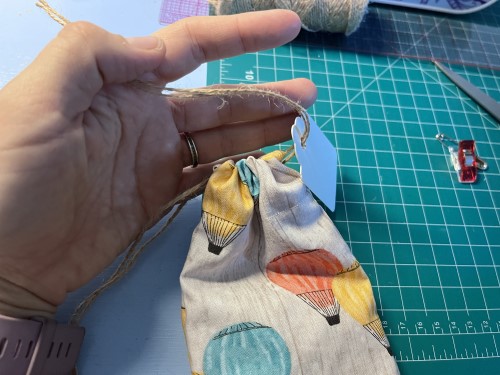
I threaded a little gift tag onto one side and then tied a bow.
Now you’re done!
To make a bag of any size, you can follow the instructions here in terms of the steps. You’ll just need to change the measurements. As long as the fabric for both sides is equal size, you can make bags of literally any size! I’ve made them big enough for large Christmas gifts before.
Materials List
2 pieces of fabric, 6.5″ x 9″
Ruler
Safety pin
Straight pins or wonderclips
Scissors
Twine
Sewing machine (or needle and thread)
Rotary cutter (optional)
Looking for another simple sewing project? Check out my Car Seat Cover Tutorial!